Sunny the Sunflower
Meet Sunny the Sunflower! this is a super easy and quick make. If you use blanket yarn it’ll end up as the size of a giant pillow! or use baby velvet and make a small squish. the opportunities are endless!
Sammy the Sunflower
You can sell items made from this design but please credit Ashly at The Weaving Witch as the designer. You may not sell or share this pattern. Also, if you share photos on Social Media of your creations please credit and tag me. Use hashtag #SammyTheSunflower and #TheWeavingWitch
Instagram: http://www.instagram.com/the.weaving.witch
Facebook: https://www.facebook.com/theweavingwitchco/
Ravelry: https://www.ravelry.com/people/Theweavingwitch
Website: http://www.theweavingwitch.com
ª YOU MAY NOT CLAIM THIS PATTERN AS YOUR OWN. YOU MAY NOT REPRINT OR SELL THIS PATTERN.
ª IF YOU USE THIS PATTERN I ASK THAT YOU PLEASE GIVE ME CREDIT AS THE ORIGINAL DESIGNER AND LINK THE PATTERN BACK TO ME.
ª FEEL FREE TO MAKE CHANGES OR ADAPT THIS PATTERN AS YOU SEE FIT. AFTER ALL, THIS IS YOUR CREATION! BUT PLEASE, AS STATED ABOVE, GIVE ME CREDIT AS THE DESIGNER FOR THIS PATTERN.
*this post contains affiliate links, if you click through and make a purchase I receive a small commission at no extra cost to you.
Supplies
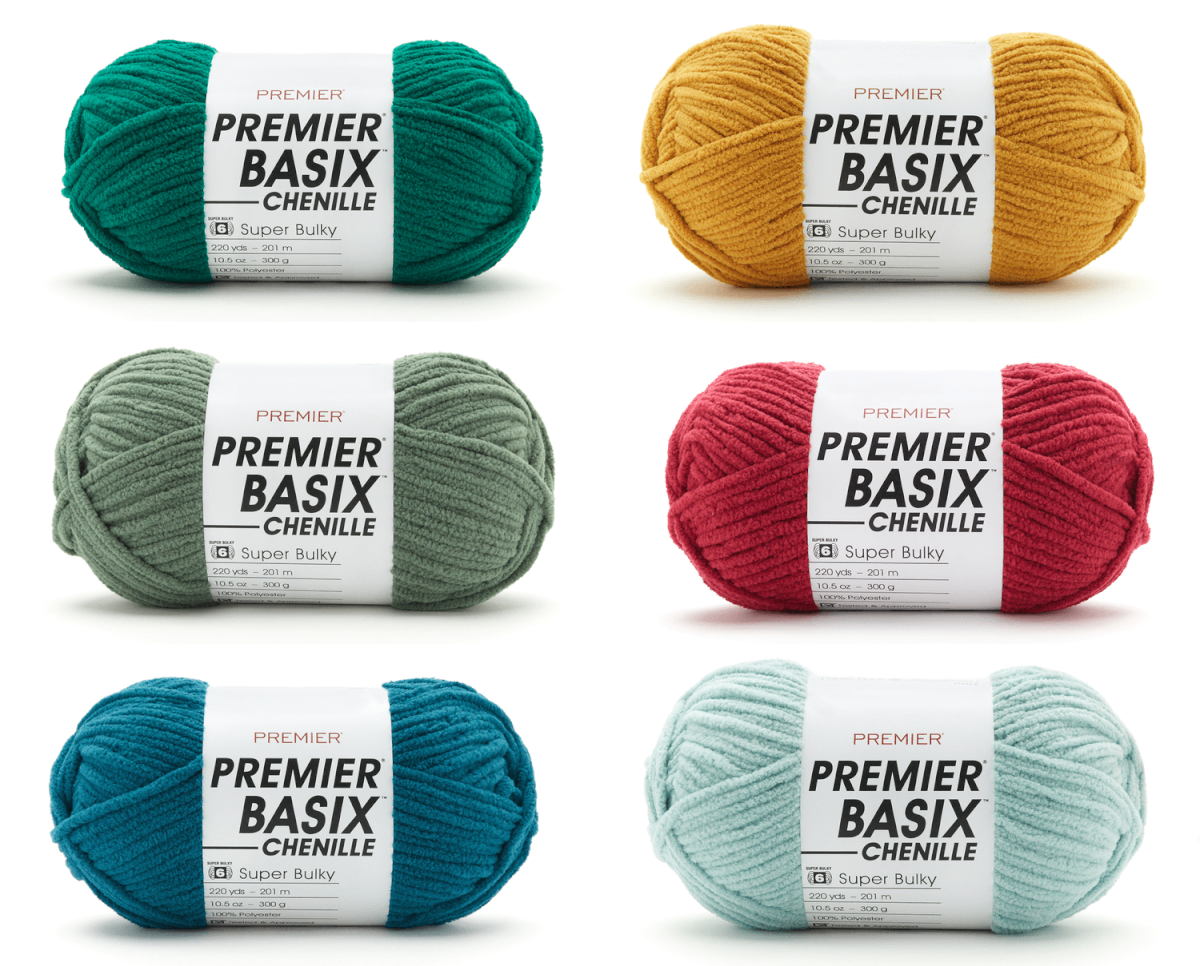
Yarn: I used premium chunky (5) chenille yarn. The center colour (C1) I used approx. 75 yards and for the petal colour (C2) I used about 200 yards
Get the exact yarn I used HERE at LoveCrafts
Or from Premier Yarns HERE
5.00 mm crochet hook or whatever hook fits your yarn
Tapestry Needle for sewing in ends.
Safety Eyes and scrap yarn for face
Sizing
This squishy pillow came to about 10 inches once it was finished. But, yours may be a bit different depending on the yarn you used. Blanket yarn will make a GIANT Pillow whereas the Premier Chunky will make a small squish.
Key (Us Terms)
Ch- Chain
Sk – skip
Slst – Slip Stitch
St (s) – stitch or stitches
Sc – Double Crochet
Inc – Increase: you’ll work two Sc sts into the same st
Dec – Decrease or Sc2Tog
Other Notes
· You’ll be working in the round
· You start with the center and sew the petals on afterwards.
· You can do the Ch 2 method to start or a Magic Circle
· The stitch count will be in brackets at the end of the row ()
The Pattern
Centre - Make 2.
C1
In a MC
Row 1: 6 Sc
Row 2: 6 Inc (12)
Row 3: (1 Inc, 1 Sc) x 6 (18)
Row 4: (Sc, Inc, Sc) x 6 (24)
Row 5: (3Sc, Inc) x 6 (30)
Row 6: (2Sc, Inc, 2Sc) x 6 (36)
Row 7: (5Sc, Inc) x 6 (42)
Row 8: (3Sc, Inc, 3 Sc) x 6 (48)
Row 9: (7Sc, Inc) x 6 (54)
Row 10: 54Sc
Do not cut second piece.
Place your two center pieces together and do 54Sc along the edges to attach stuffing as you go. Don’t forget to add your eyes and desired face!
Petals – Make 8-10 depending on your yarn
C2
In a MC
Row 1: 6Sc
Row 2: 6Sc
Row 3: (Inc, 1Sc) x 3 (9)
Row 4: (1Sc, Inc, 1Sc) x 3 (12)
Row 5: 12 Sc
Row 6: (2Sc, Inc) x 4 (16)
Row 7: (3Sc, Inc) x 4 (20)
Row 8-11: 20 Sc
Row 12: (3Sc, Dec) x 4 (16)
Row 13: (2Sc, Dec) x 4 (12)
Pinch the last row in half and put 5 Sc attaching them together, fasten and leave a long tail for sewing. No need to stuff the petals
Assembly
Make sure to check the placement of your petals around the edge for symmetry. Have one petal overlapping the other slightly so that you have one behind and one in front. Sew Petals into place. You’re Done!


