
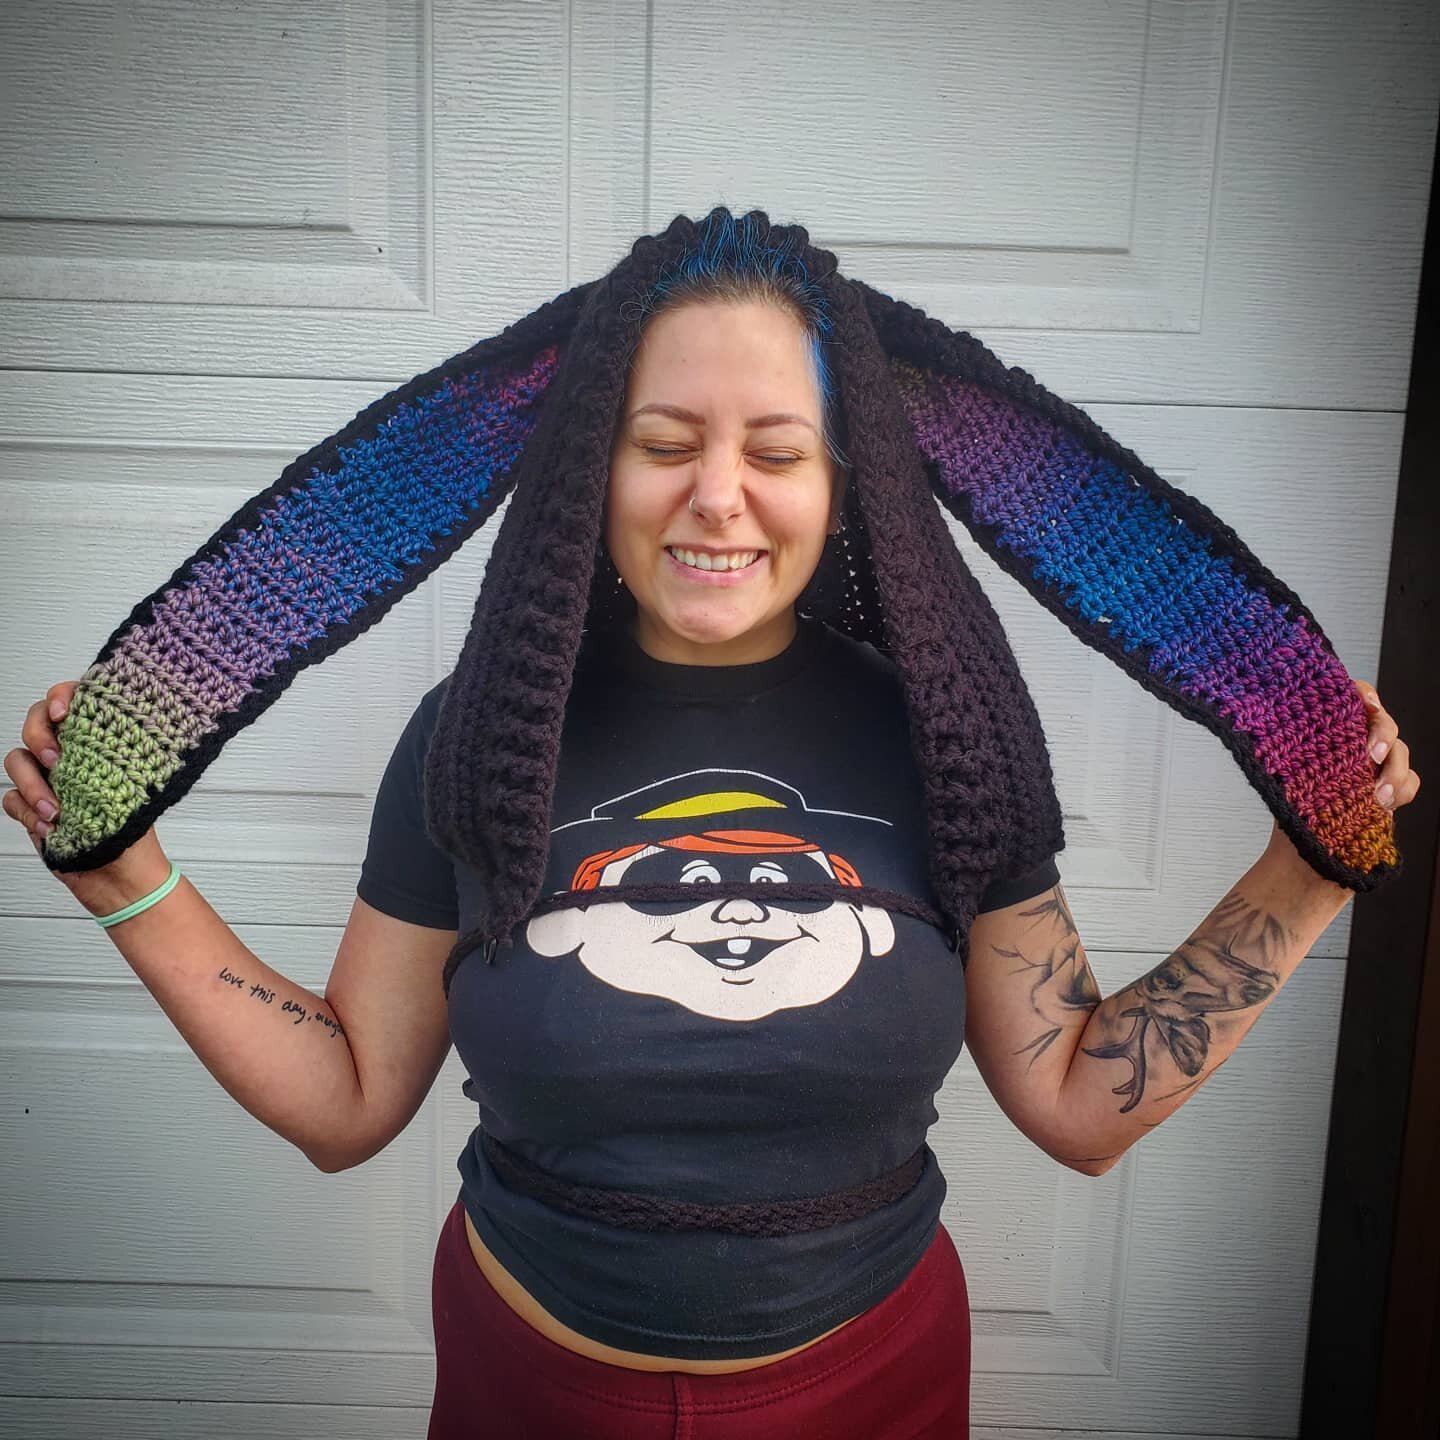
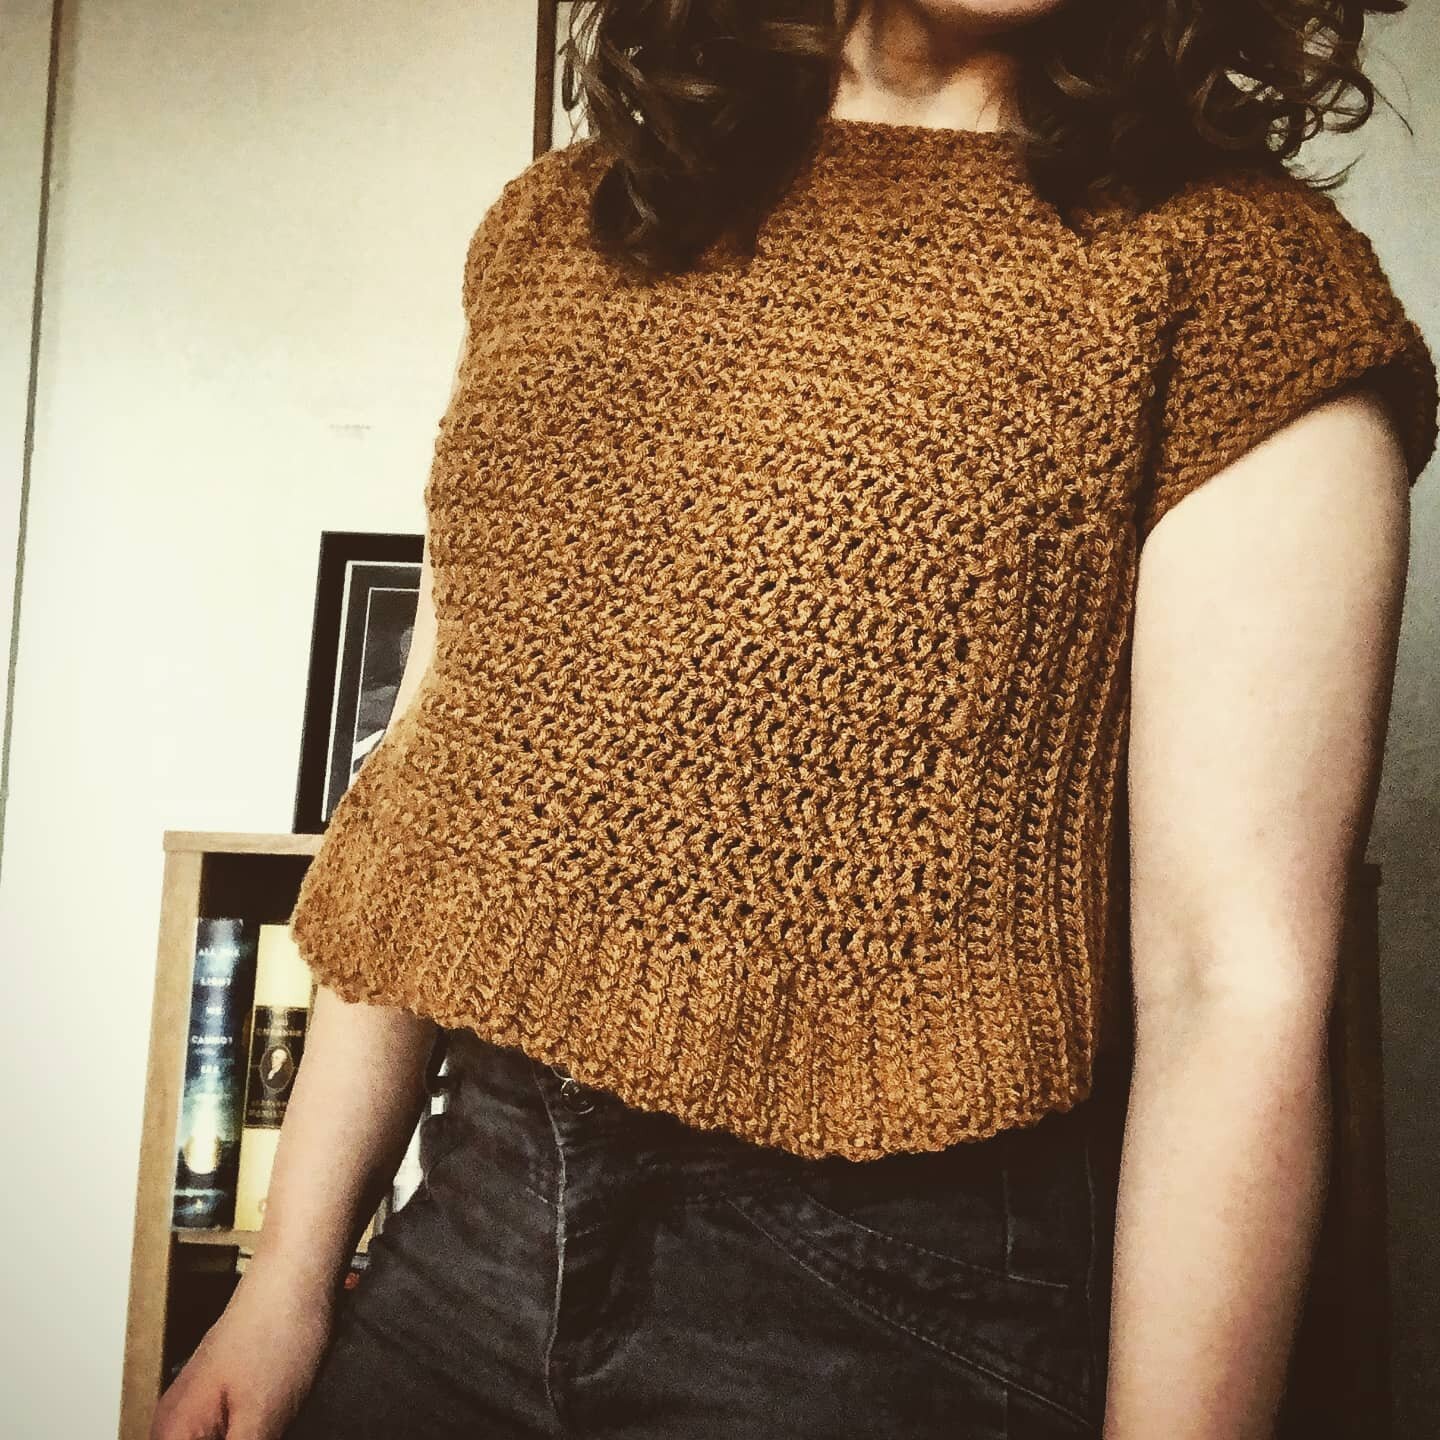
That Bunny Hoodie

Wow! Another project done LIVE on stream! Twitch has been such a fun place to meet so many cool people! I love this community.
If you don’t hang out in the land of Twitch yet, defintely come check it out! I do crochet streams every Sunday at 7pm PST. Click Here to follow me. I also do gaming streams and other fun streams throughout the week.
Also, check out my other shops for more patterns here:

You can sell items made from this design but please credit Ashly at The Weaving Witch as the designer. You may not sell or share this pattern. Also, if you share photos on Social Media of your creations please credit and tag me. Use hashtag #TheWeavingWitch
Instagram: http://www.instagram.com/the.weaving.witch
Facebook: https://www.facebook.com/theweavingwitchco/
Ravelry: https://www.ravelry.com/people/Theweavingwitch
Etsy: https://www.etsy.com/ca/shop/WeavingWitchByAshly
Website: http://www.theweavingwith.com
ª YOU MAY NOT CLAIM THIS PATTERN AS YOUR OWN. YOU MAY NOT REPRINT OR SELL THIS PATTERN.
ª IF YOU USE THIS PATTERN I ASK THAT YOU PLEASE GIVE ME CREDIT AS THE ORIGINAL DESIGNER AND LINK THE PATTERN BACK TO ME.
ª FEEL FREE TO MAKE CHANGES OR ADAPT THIS PATTERN AS YOU SEE FIT. AFTER ALL, THIS IS YOUR CREATION! BUT PLEASE, AS STATED ABOVE, GIVE ME CREDIT AS THE DESIGNER FOR THIS PATTERN.
*this post contains affiliate links, if you click through and make a purchase I receive a small commission at no extra cost to you.
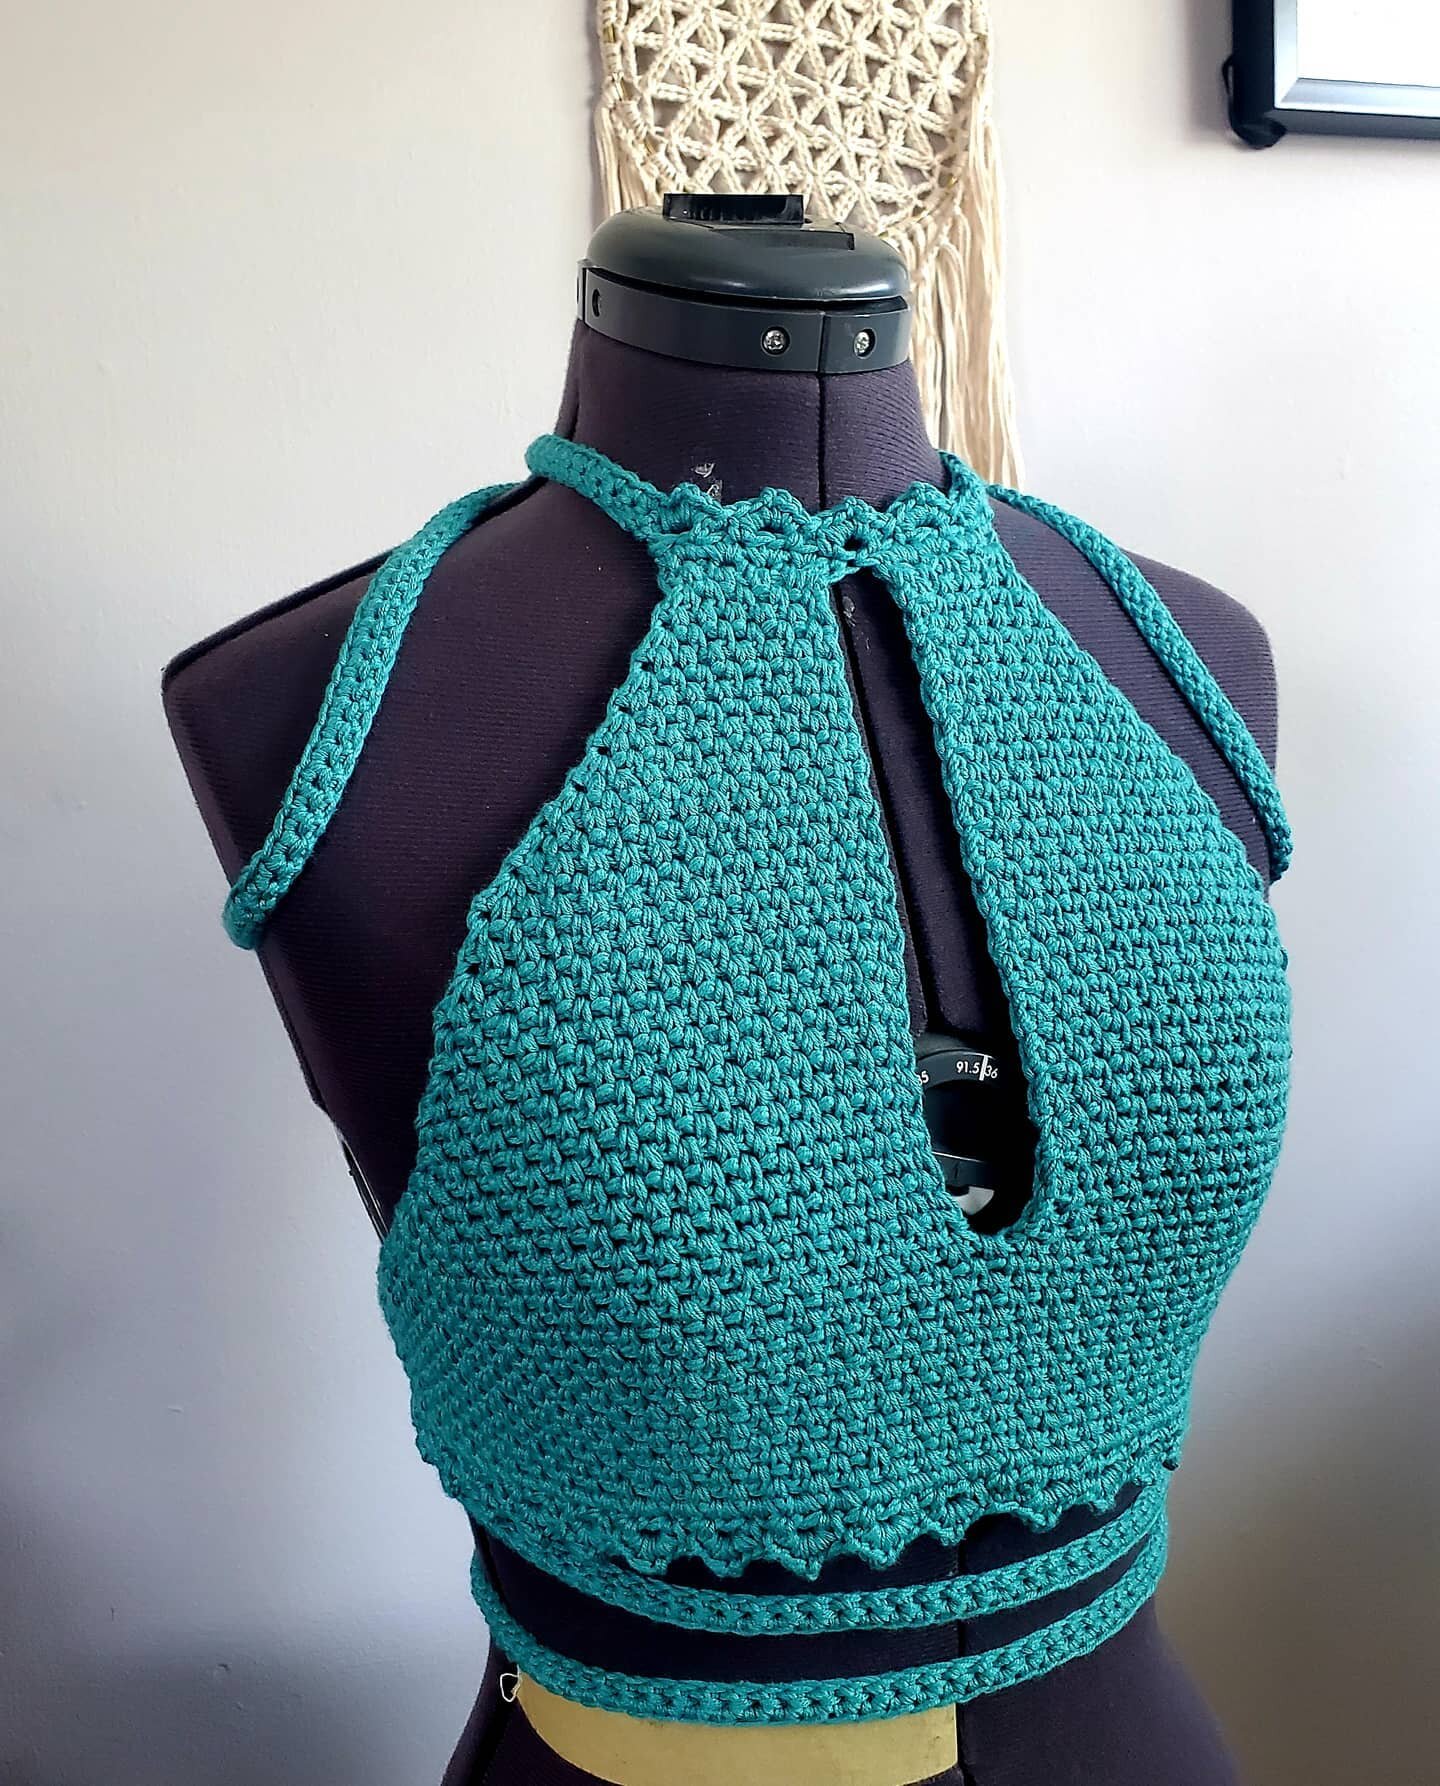
Now for this cute hoodie! What a fun project that can be fully customizable to any sized person. It’s super easy and quite quick! The straps are fun and very versatile. So, lets get started:
Materials
Some Chunky Yarn (approx 600 yards)
Some more chunky yarn for your secondary colour (approx 100 yards)
Scissors
8mm Crochet hook
Optional: 2 D-Links
Key (US Terms)
Ch - Chain
St - Stitch
Sc - Single Crochet
Dc - Double Crochet
Hdc - Half-Double Crochet
Fp - Front Post
Bp - Backpost
Rep - Repeat
Hdc2tog - Half Double Crochet two together: Yarn over, insert the crochet hook into the next stitch, yarn over, pull the yarn through the stitch on your crochet hook. You should now have three stitches on your hook, insert the crochet hook into the next stitch, yarn over, pull the yarn through the stitch on your crochet hook, yarn over, pull the yarn through all four stitches on your crochet hook.

Pattern
Brim
You’re going to start by measuring to create the proper size for your hood. Measure from one armpit, up over your head, to the other armpit.
Ch this measurement in multiples of 2 + 1
Row 1: Ch 3 (counts as a Dc throughout), Dc into the 4th Ch from the hook, Dc into each Ch across, turn
Row 2: Ch 3, * FpDc in next, BpDc in next, rep from * until last 2 Sts, FpDc, Dc into turning Ch, turn
Row 3: Ch 3, * BpDc in next, FpDc in next, rep from * until last 2 Sts, BpDc, Dc into turning Ch, turn
Hood
Now, it’s time to make the shape of the hood. You’r going to start out by decreasing to get the shape to the shoulders, then you’ll continue without decreases to finish off the shape around the head/neck
Row 1: Ch 2 (counts as a Hdc throughout), Hdc in next, Hdc across, Hdc into turning Ch, turn
Row 2: Ch 2, Hdc2tog into the next 2 Sts, Hdc across until there are only 3 Sts left in the Row, Hdc2tog into the next 2 Sts, Hdc into turning Ch, turn
Rep Row 2 until the slant has reached the top of the shoulder.
Row 3: Ch 2, Hdc in next St, Hdc across, Hdc into turning Ch, turn
Rep Row 3 until you’ve reached the total size desired for your hood.
Now, hold your hood in half along the last row you completed, Sc along this edge to attach together, Fasten
Straps
Now, let’s create the fun straps! If you have D-links, you’ll be stitching these on along the edge of the 3 Brim rows on each side. If you don’t have D-links, you can just attach the strap directly to the same points. You just wont be able to adjust it later on.
To make the straps:
Start by making a Ch long enough to wrap around the body a few times.
Row 1: Ch 2, Hdc into 3rd Ch from hook, Hdc across, Fasten
Now, you can slip this Strap into the D-links and wear!
If you don’t have D-links, find the middle and measure out from the point of your two armpits, St the strap along the bottom edge of your brims rows on each side.
Ears
Lets make some ears
Make 2 in each colour making a total of 4
Ch 10
Row 1: Ch 2 (counts as Hdc throughout), Hdc into 3rd Ch from the hook, Hdc across, tunr
Row 2: Ch 2, Hdc into next, Hdc across, Hdc into turning Ch, Turn
Rep Row 2 until you’ve reached your desired length of your ear, mine is about 3 inches longer than my hood so they are extra floppy
Row 3: Ch 1 (counts as a Sc throughout), Hdc2tog in next 2 Sts, Hdc across until only 3 sts left in row, Hdc2tog in next 2 Sts, Sc in turning Ch, turn
Rep Row 3, 2 more times, Fasten
To assemble, you’ll be placing your secondary colour on top of your main colour. Sc using your Main colour around the edges to attach these 2 pieces together, fasten but leave a long tail for sewing. Repeat on other ear.
And finally, we are going to attach these 2 ears:
Fold your Row 1’s on the ears in half and sew up this edge, then place the ear on the hood at about your second Hdc Row in from the Brim and 2 inches below the middle and sew this into place.
Sew in your end and you’re done!
Enjoy this cute hood at festivals, for easter or whenever you’re looking for a funky evening of dress up!
Check out my other patterns here:
Follow me on my socials below!
Looking for something particular on the site?
Check out the search bar below!


