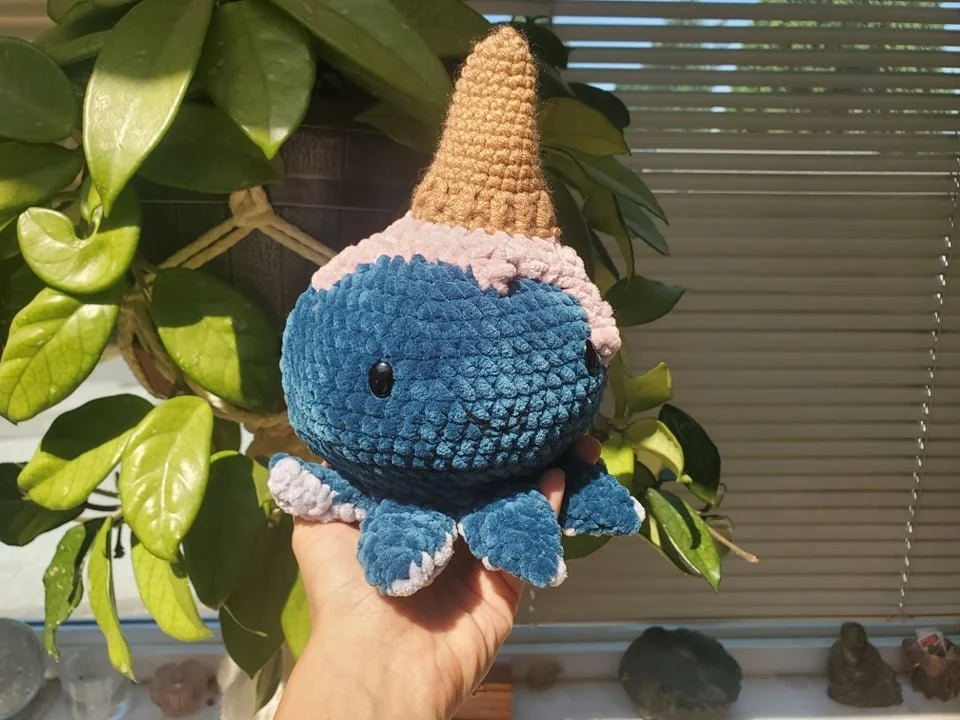
Ivan The Octopus

Ivan the Octopus!
Thank you so much in supporting my art! You can sell items made from this design in small batches but you must credit Ashly at The Weaving Witch as the designer. You may not mass produce this design. You may not sell or share this pattern. You may not alter or modify this design and claim it to be your own. Also, if you share photos on Social Media of your creations please credit and tag me. Use hashtag #TheWeavingWitch
Instagram: http://www.instagram.com/the.weaving.witch
Facebook: https://www.facebook.com/theweavingwitchco/
Ravelry: https://www.ravelry.com/people/Theweavingwitch
Etsy: https://www.etsy.com/shop/WeavingWitchByAshly
Website: http://www.theweavingwitch.com
*this post contains affiliate links, if you click through and make a purchase I receive a small commission at no extra cost to you.
Supplies
Yarn: Any chunky yarn will do. I used Premier Parfait Chunky. And I used a worsted weight for the cone. I used 4 colours. I used approx. 175 yards for the main colour, 50 for the bottom tentacles, 25 for the melted ice cream and 25 for the cone.
You can get the exact yarn using my affiliate link here:
6.00 mm crochet hook or whatever hook fits your yarn
Tapestry Needle for sewing in ends.
Safety eyes and scrap yarn for the mouth.
Sizing
When finished this guy is finished, he should be 5 inches x 5 inches wide and 8 inches tall (including icecream cone) however, if you used chunkier yarn and larger hook, it may come out bigger and vice versa. Also, you will want to take into account the cone, if you are using chunkier yarn, you make need to double strand your cone.
Key (Us Terms)
Ch- Chain
Sk – Skip
Slst – Slip Stitch
St (s) – stitch or stitches
Sc – Single Crochet
Hdc – Half Double Crochet
Dc- Double Crochet
Inc – Increase – 2 sts in the same designated stitch
Dec - decrease
Bp – Back Post
Fp – Front post
Other Notes
· You’ll be working in the round and not turning after each row.
· However, the tenticles are done in rows, turning after each row.
· You’ll be starting with the head, then tentacles then the cone
· You can start with a Magic Circle or the Ch 2 method.
· Your st count will be in [ ] at the end of each row
The Pattern
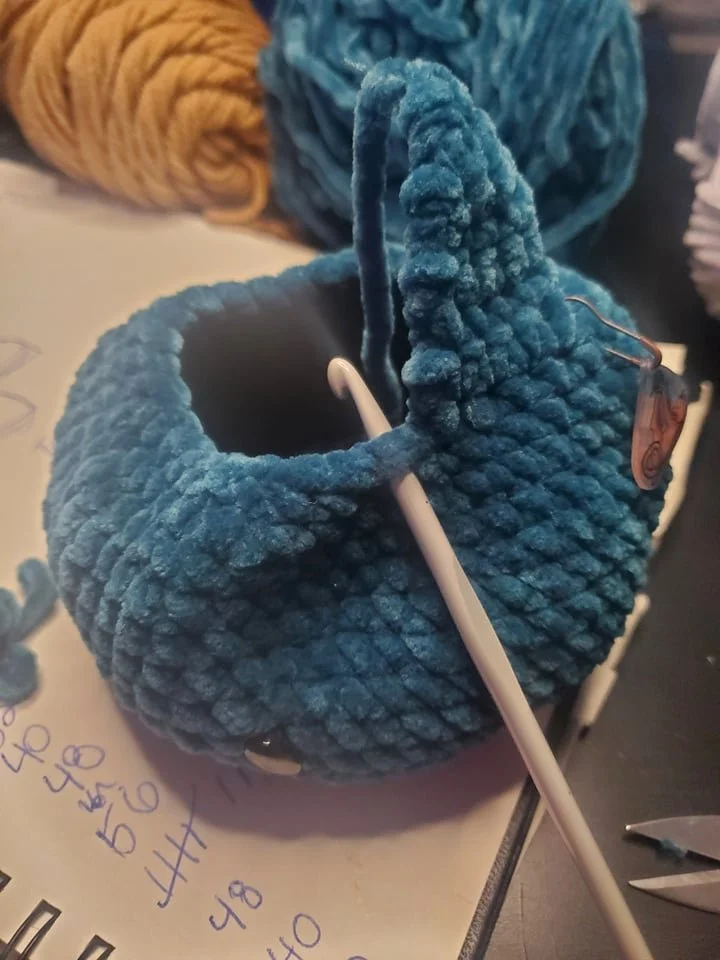
Body
In your magic circle
Row 1: 8 Sc [8]
Row 2: (8 Inc) [16]
Row 3: (1 Inc, 1 Sc) x 8 [24]
Row 4: (1 Sc, 1 Inc, 1 Sc) x 8 [32]
Row 5: (3 Sc, Inc) x 8 [40]
Row 6: (2 Sc, Inc, 2 Sc) x 8 [48]
Row 7: (5 Sc, Inc) x 8 [56]
Row 8-14: 56 Sc
Place your eyes between for 9 and 10 about 12 sts apart
Row 15: (5 Sc, Dec) x 8 [48]
Row 16: (2 Sc, Dec, 2 Sc) x 8 [40]
Row 17: (3 Sc, Dec) x 8 [32]
Do not cut, do not fasten.
Tentacles
Now, we will be working in rows.
Row 1: 4 Sc, turn [4]
Row 2: 4 Sc, turn [4]
Row 3: 4 Sc, turn [4]
Row 4: Sk first st, 3 Sc, turn [3]
Row 5: Sk first st, 2 Sc, turn [2]
Row 6: Sk first st, Sc [1]
Cut and Fasten
Now, insert your hook into the next st along Row 17 of the prev section. And repeat Rows 1-5 again.
Continue until you have finished 8 tenticles. And move to the next section.

Section 3 : Bottom
In your magic circle
Row 1: 8 Sc [8]
Row 2: (8 Inc) [16]
Row 3: (1 Inc, 1 Sc) x 8 [24]
Row 4: (1 Sc, 1 Inc, 1 Sc) x 8 [32]
Do not Cut and Fasten
Section 4: Bottom Tentacles
Now, we will be working in rows.
In your Magic Loop
Row 1: 4 Sc, turn [4]
Row 2: 4 Sc, turn [4]
Row 3: 4 Sc, turn [4]
Row 4: Sk first st, 3 Sc, turn [3]
Row 5: Sk first st, 2 Sc, turn [2]
Row 6: Sk first st, Sc [1]
Cut and Fasten
Now, insert your hook into the next st along Row 4 of the prev section. And repeat Rows 1-5 again.
Continue until you have finished 8 tenticles. And move to the next section.
Section 5: Attaching the Tentacles
Once all your tentacles are finished, we need to sew them together. Stuff your Octo Head, but leave the tentacles unstuffed.
Section 6: Cone Time!
Using your worsted weight brown/tan colour.
In a Magic Loop
Row 1: 4 Sc
Row 2: 4 Sc
Row 3: Inc, 2 Sc, Inc [6]
Row 4: 6 Sc
Row 5: Inc, 2 Sc, Inc, 2 Sc [8]
Row6: 8 Sc
Row 7: Inc, 3 Sc, Inc, 3 Sc [10]
Row 8: 10 Sc
Row 9: (Inc, 2 Sc) x 4 [14]
Row 10: 14 Sc
Row 11: (Inc, 3 Sc) x 4 [18]
Row 12: 18 Sc
Row 13: (Inc, 4 Sc) x 4 [22]
Row 14: 22 Hdc
Row 15-16: (FpHdc, BpHdc) x 11 [22]
Cut and leave a long tail for sewing
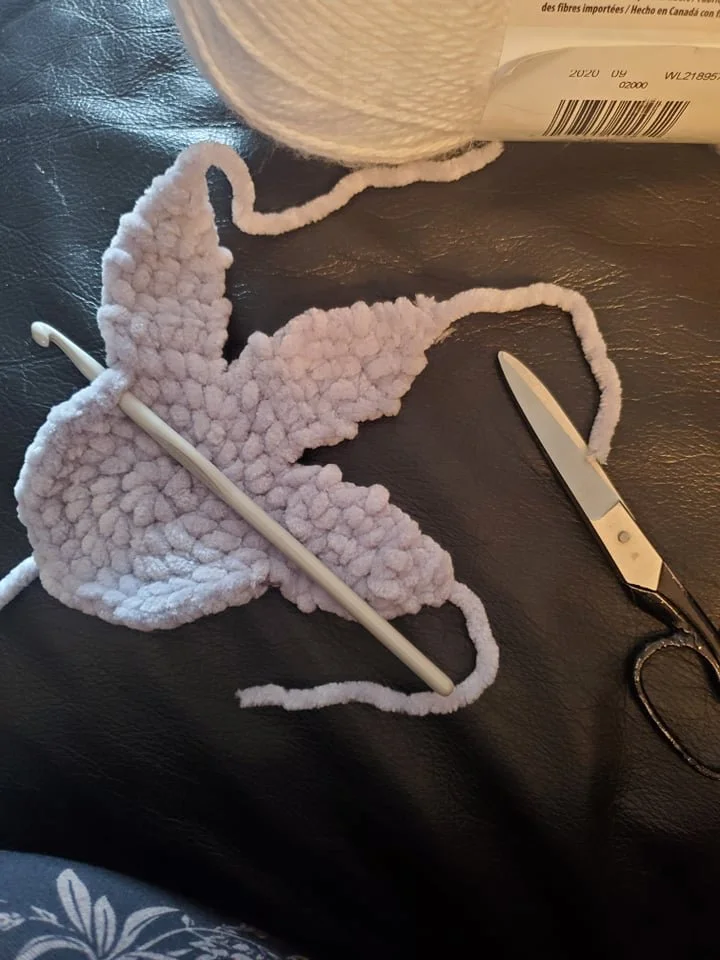
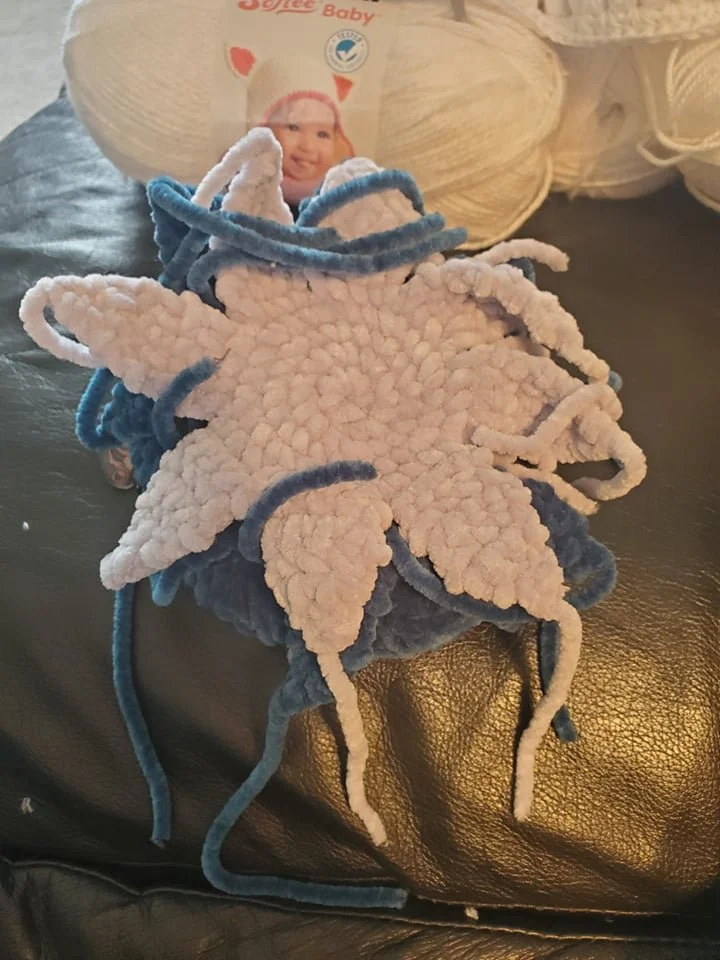
Section 7: Melty Ice-Cream
In a Magic Circle
Row 1: 6 Sc
Row 2: 6 Inc [12]
Row 3: (1 Sc, Inc) x 6 [18]
Row 4: (1 Sc, Inc, 1Sc) x 6 [24]
Row 5: (Inc, Ch 3, Sc into 2nd Ch from hook, Sc into next Ch, Sc into the side of the Sc of the Inc, 1 Sc into next st, 2 Sc, Inc, Ch 4, Sc into the second Ch from the hook, Sc into the next 2 Ch, Sc into the side of the Sc the Inc, Sc into next Sc, Sc into the next 2 sts) x 3 [30]
Leave an extra long tail for sewing
Section 8: Attaching pieces
Centre the cone onto the melted ice-cream and sew into place
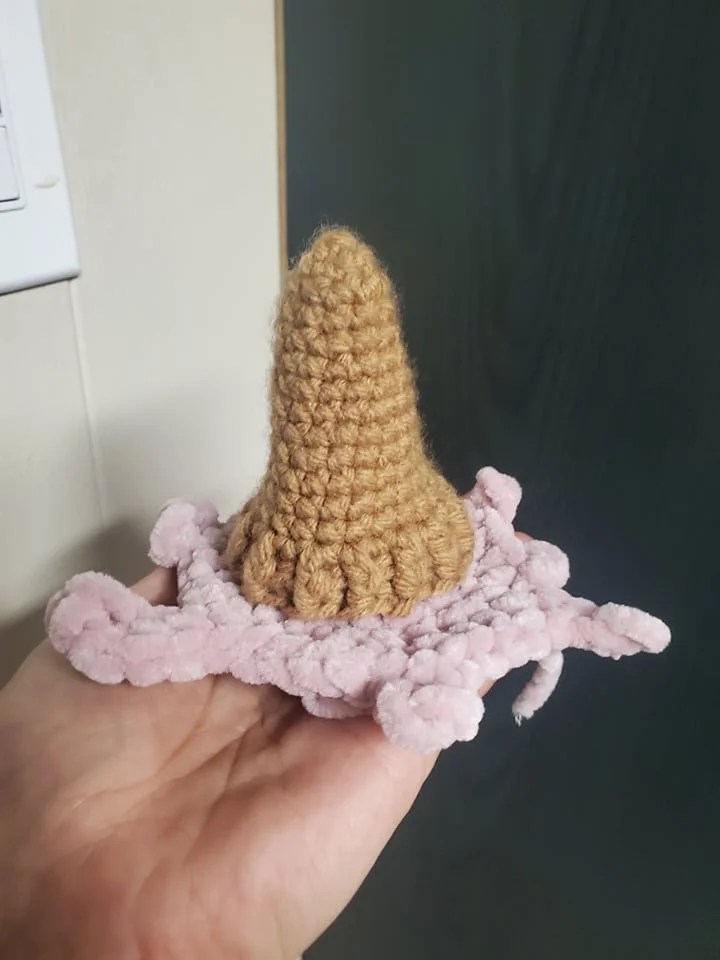
Then you’ll want to line up your ice-cream to lay asymmetrical on top of your Octo’s head. And sew into place. You can place your drips as you wish! Have fun with it!
And You are Done!!!
I absolutely LOVE seeing all your creations! Please tag me! Pin it! and all those things
Check out all my socials here:
If you enjoyed this free pattern, maybe you’ll LOVE Sunny The Sunflower
Comment with any questions, or other things you’d love to see on my blog! And don’t forget to sign up for my free newsletter at the bottom of the page so you can stay up to date with all of what’s happening here!


Looking for something particular on the site?
Use the search bar below!